Documentation
From label to kiosk: scan, read, acknowledge
Every product carries a QR code that points to its scan page. Workers scan it with their own device or at a kiosk, read the hazard profile and the current operating instruction, then confirm with one tap that they have read and understood it.
This page follows the worker loop: print the label with a QR code, control the QR in the operating-instruction document, scan and acknowledge on the floor, and set up and run a shared kiosk for workstations with no personal device. Safety-critical text (signal word, H and P statements) appears verbatim everywhere.
Print the label with a QR code
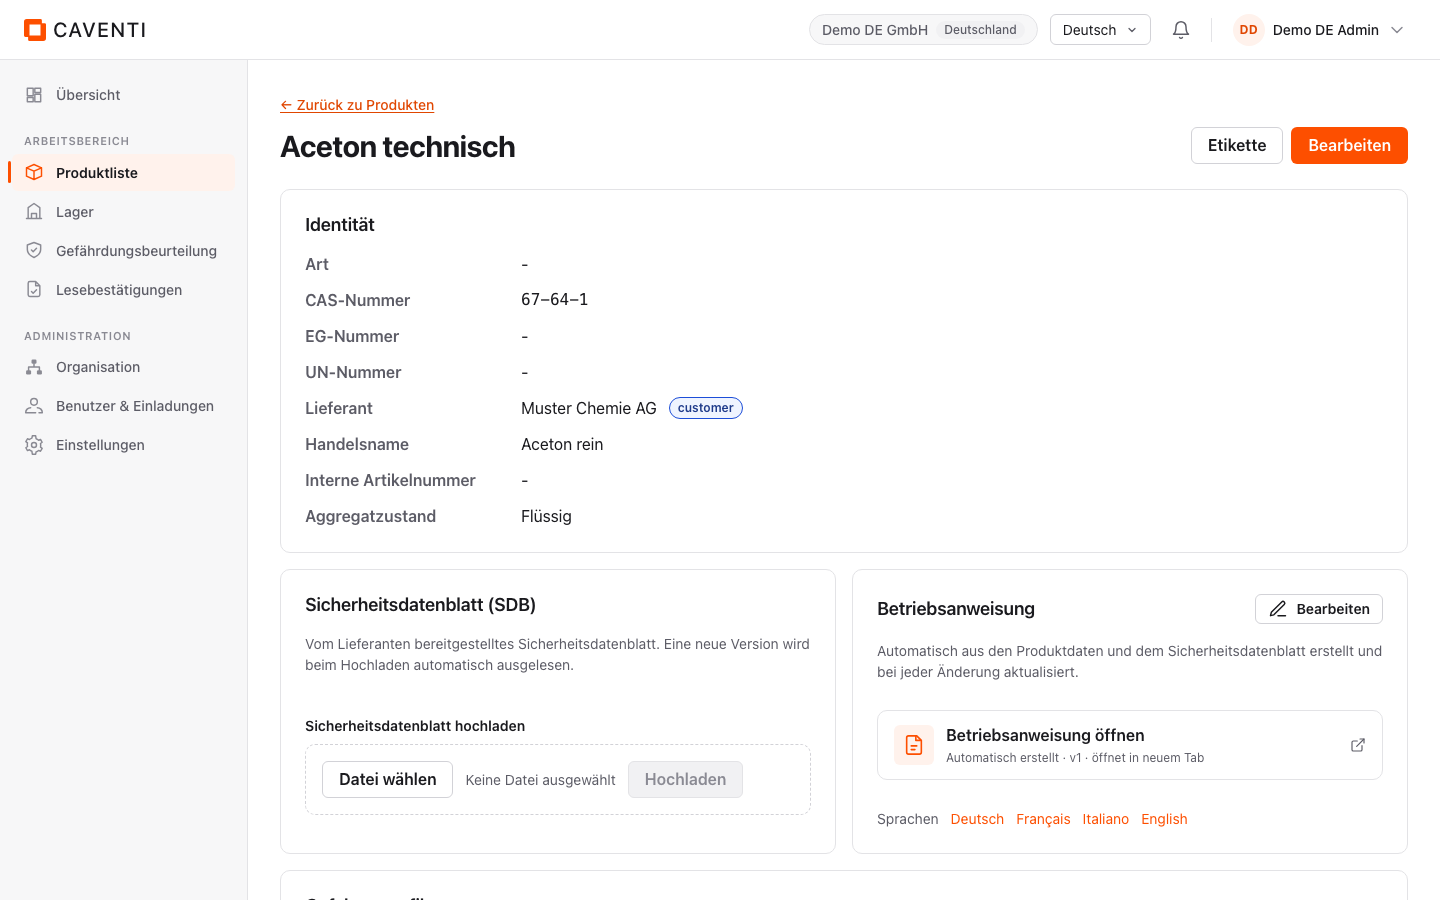
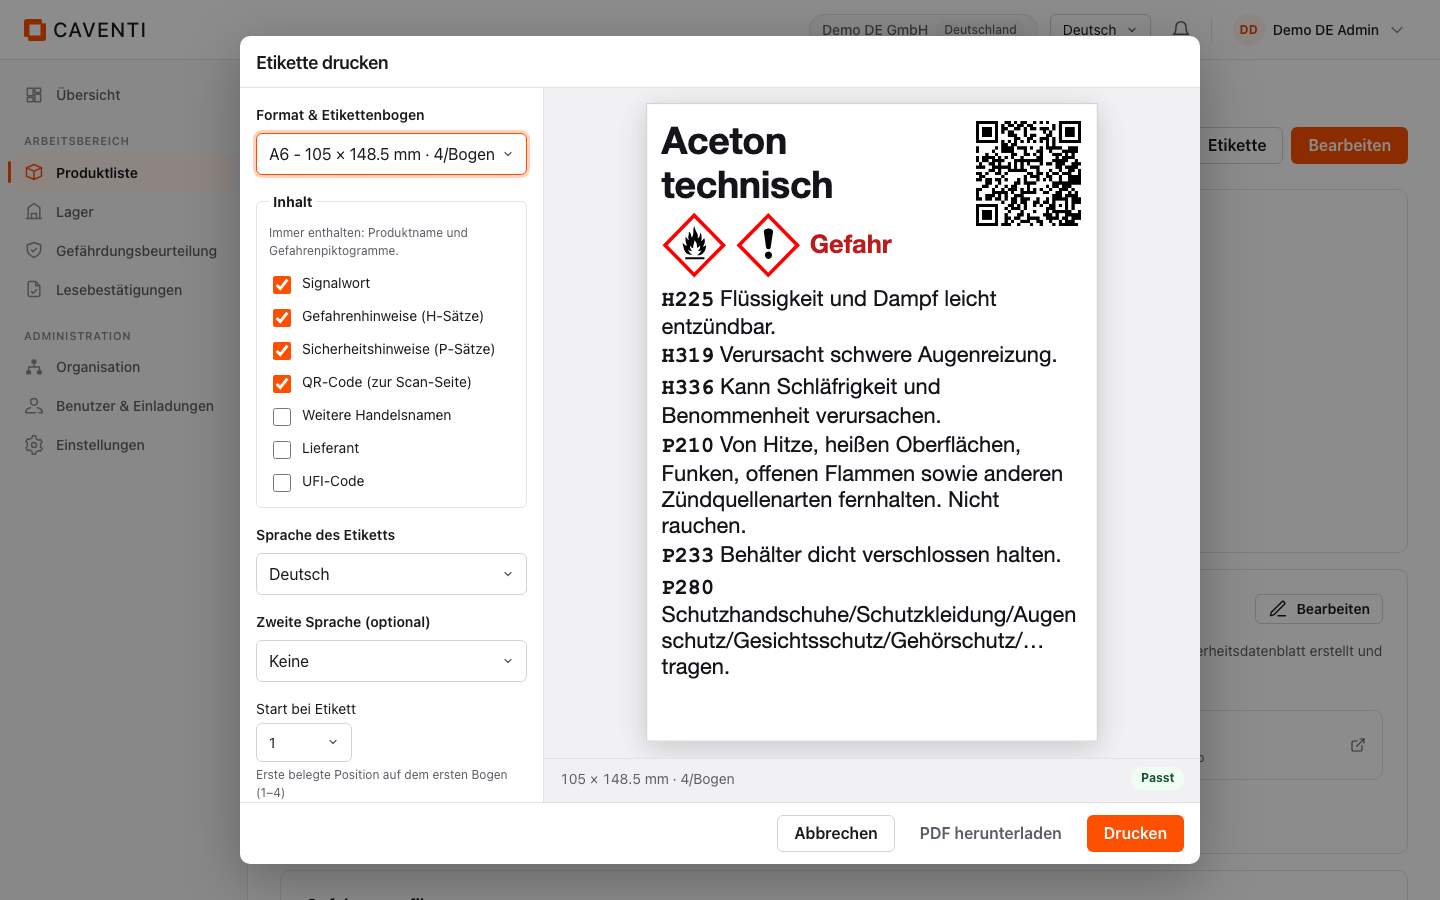
On the product detail page the "Etikette" button opens the "Etikette drucken" dialog. On opening, the app mints the product's scan token (or reuses an existing one) and renders a live label preview on the right. In the "Inhalt" area the "QR-Code (zur Scan-Seite)" checkbox is ticked from the start: the QR code at the top right of the label points to the product's scan page.
The preview shows exactly what will print: product name, pictograms and the unchanged hazard text. A fit badge ("Passt") confirms the content fits the chosen format. "PDF herunterladen" or "Drucken" outputs the label.
Gefahr
H225 - Flüssigkeit und Dampf leicht entzündbar.
H319 - Verursacht schwere Augenreizung.
H336 - Kann Schläfrigkeit und Benommenheit verursachen.
P210 - Von Hitze, heißen Oberflächen, Funken, offenen Flammen sowie anderen Zündquellenarten fernhalten. Nicht rauchen.
P233 - Behälter dicht verschlossen halten.
P305+P351+P338 - BEI KONTAKT MIT DEN AUGEN: Einige Minuten lang behutsam mit Wasser ausspülen. Eventuell vorhandene Kontaktlinsen nach Möglichkeit entfernen. Weiter ausspülen.
Shown on the label preview in the "Etikette drucken" dialog.
The QR code in the operating-instruction document
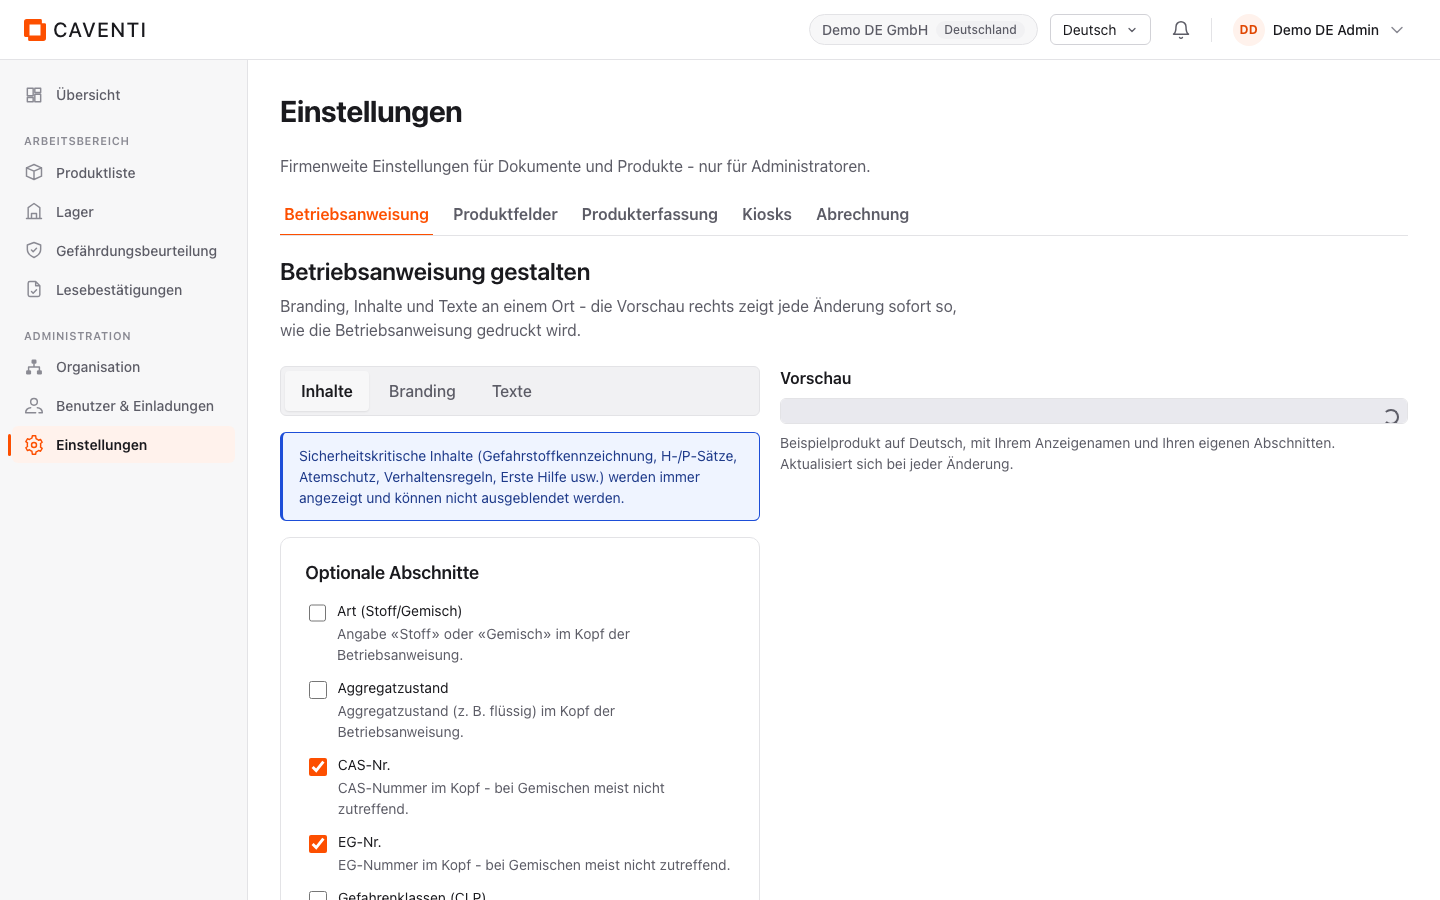
There are two separate QR switches, and they are easy to confuse. The first is the label checkbox "QR-Code (zur Scan-Seite)" from the previous section. The second lives in the BA studio (Einstellungen, Betriebsanweisung tab) under "Inhalte" as its own block "QR-Code (Etikette)": it controls whether the printed operating instruction carries a QR code. Both are on by default for a fresh tenant, but they are different switches for different documents.
Worker scan: read and acknowledge
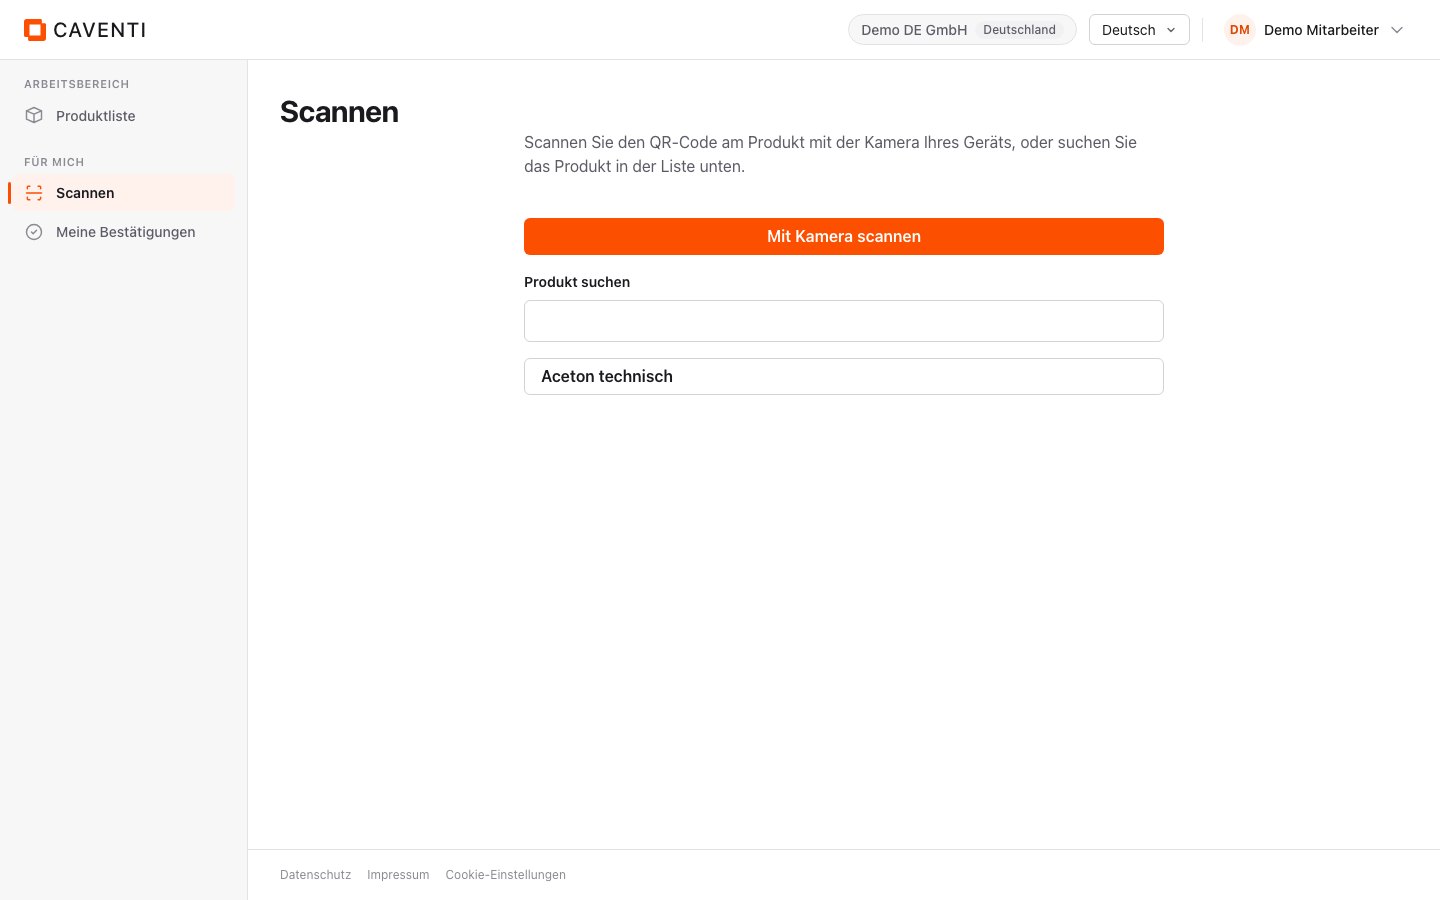
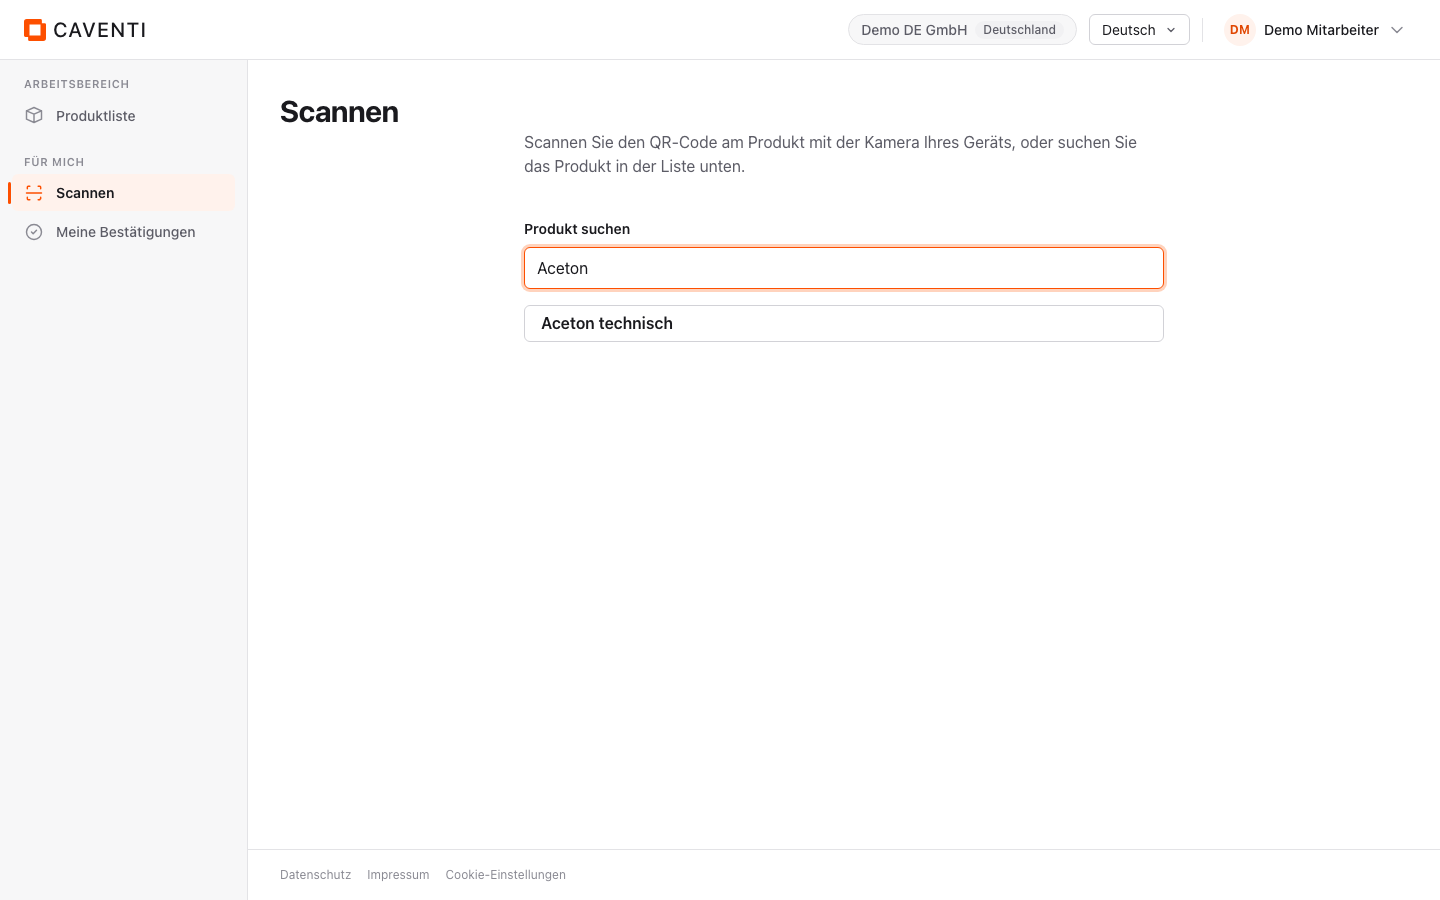
Signed-in workers reach the scan page via "Scannen" (route /scan). The "Mit Kamera scannen" button comes first; below it a "Produkt suchen" field with a product list as the fallback when no camera is available. A scanned QR code goes straight to the product's scan page.
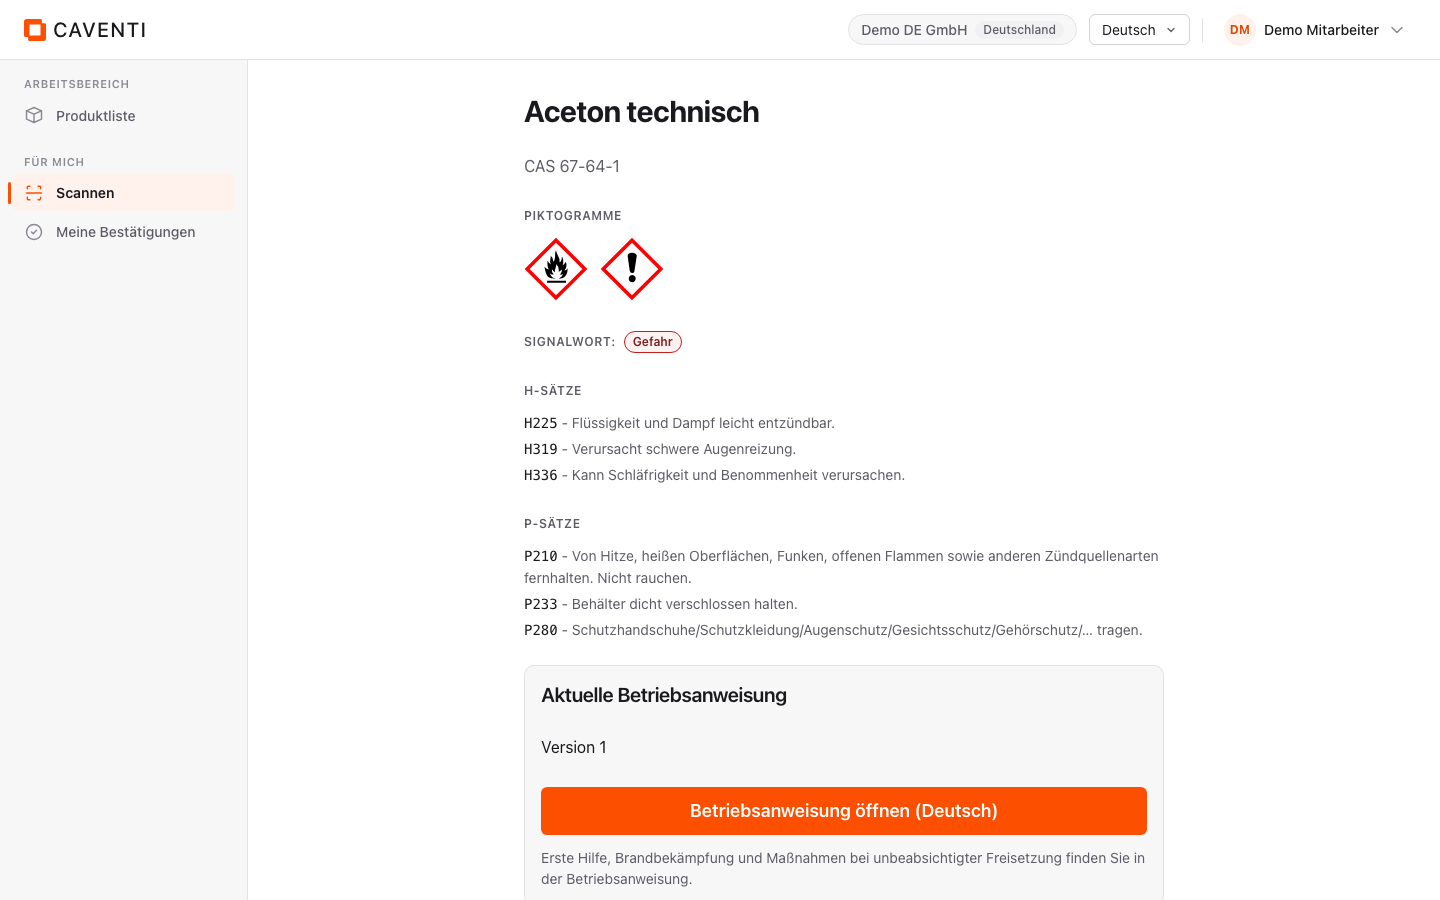
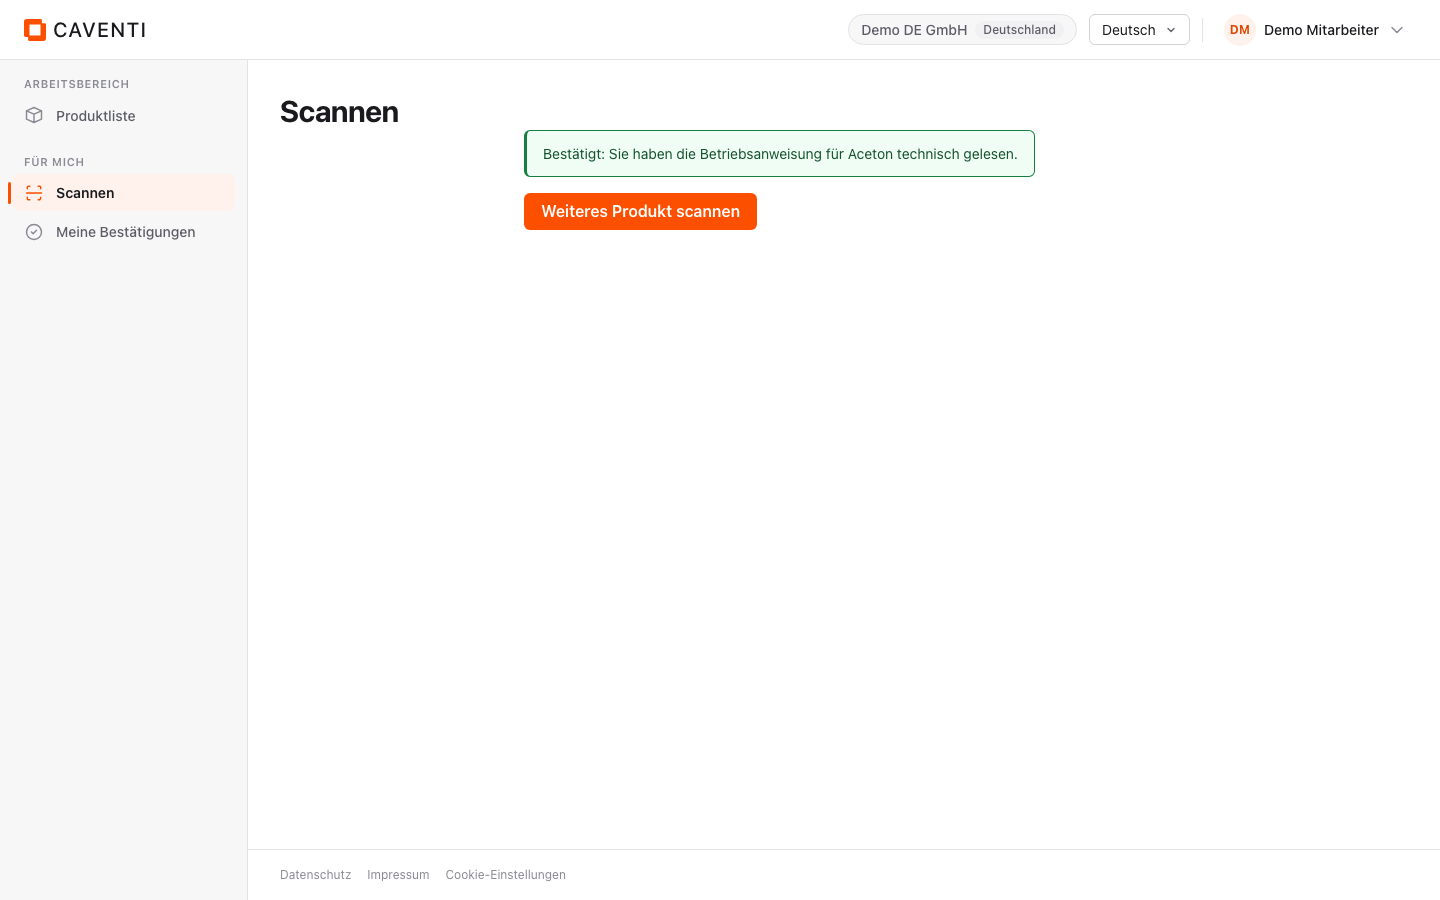
The scan page shows the hazard profile verbatim: CAS number, pictograms, signal word and the H and P statements. The "Aktuelle Betriebsanweisung" card names the version and offers the large "Betriebsanweisung öffnen (Deutsch)" button, which opens the right PDF in a new tab. A tap on "Gelesen und verstanden" acknowledges it. A green confirmation message then appears, along with a "Weiteres Produkt scannen" button so the loop continues with no dead end.
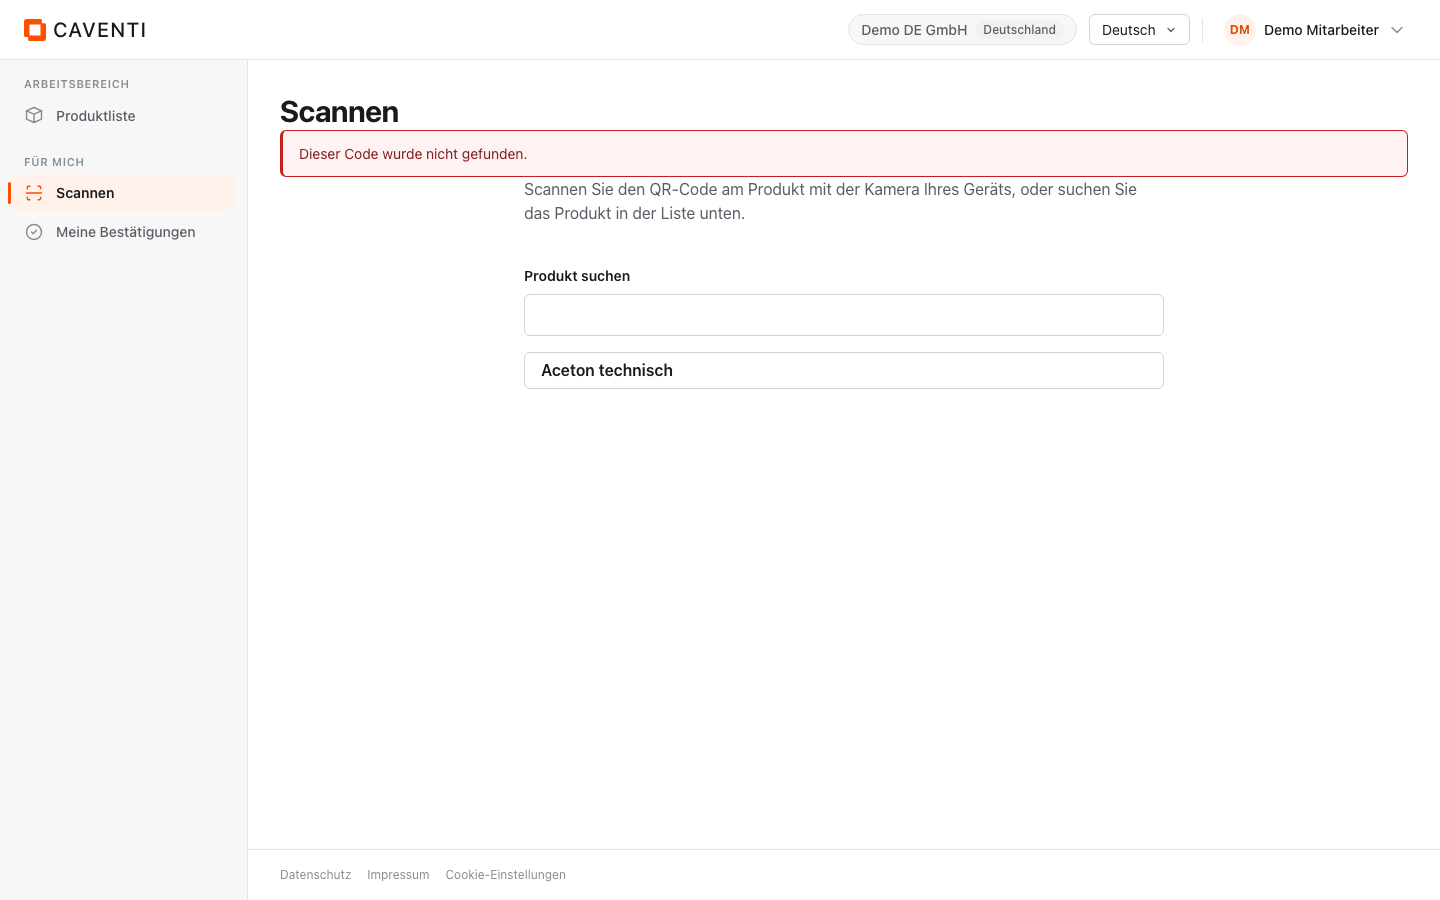
If a code is unknown, the page shows the error "Dieser Code wurde nicht gefunden." with the scan and search surface below it to recover; you never end on a blank page.
SIGNALWORT: Gefahr
H225 - Flüssigkeit und Dampf leicht entzündbar.
H319 - Verursacht schwere Augenreizung.
H336 - Kann Schläfrigkeit und Benommenheit verursachen.
P210 - Von Hitze, heißen Oberflächen, Funken, offenen Flammen sowie anderen Zündquellenarten fernhalten. Nicht rauchen.
P233 - Behälter dicht verschlossen halten.
P280 - Schutzhandschuhe/Schutzkleidung/Augenschutz/Gesichtsschutz/Gehörschutz/… tragen.
Shown on the scan page /scan/<token>, as the operating instruction presents it to workers.
My acknowledgements
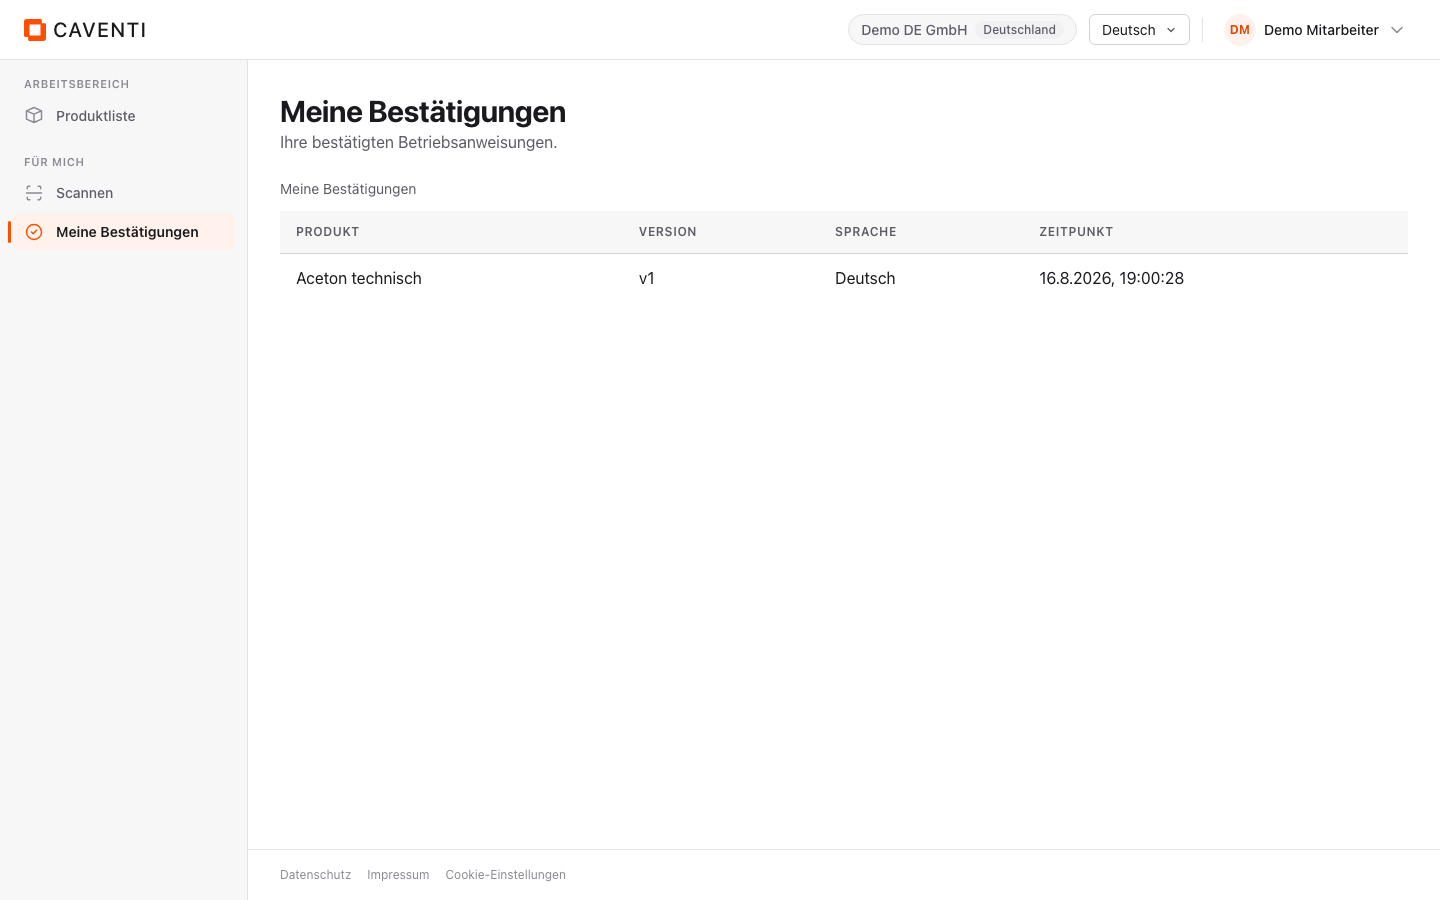
Every acknowledgement lands in the personal list under "Meine Bestätigungen" (route /my-acknowledgements), captioned "Ihre bestätigten Betriebsanweisungen." The table lists the signed-in person's confirmed operating instructions; before the first acknowledgement it shows the empty state "Noch keine Bestätigungen".
Safety data sheet by scan
If the product has an attached safety data sheet, the scan page also shows the "Sicherheitsdatenblatt öffnen" link below the operating instruction. The link is deliberately conditional: with no SDS (as with the default example Aceton technisch) it stays hidden rather than pointing to an empty document.
Set up a kiosk (administration)
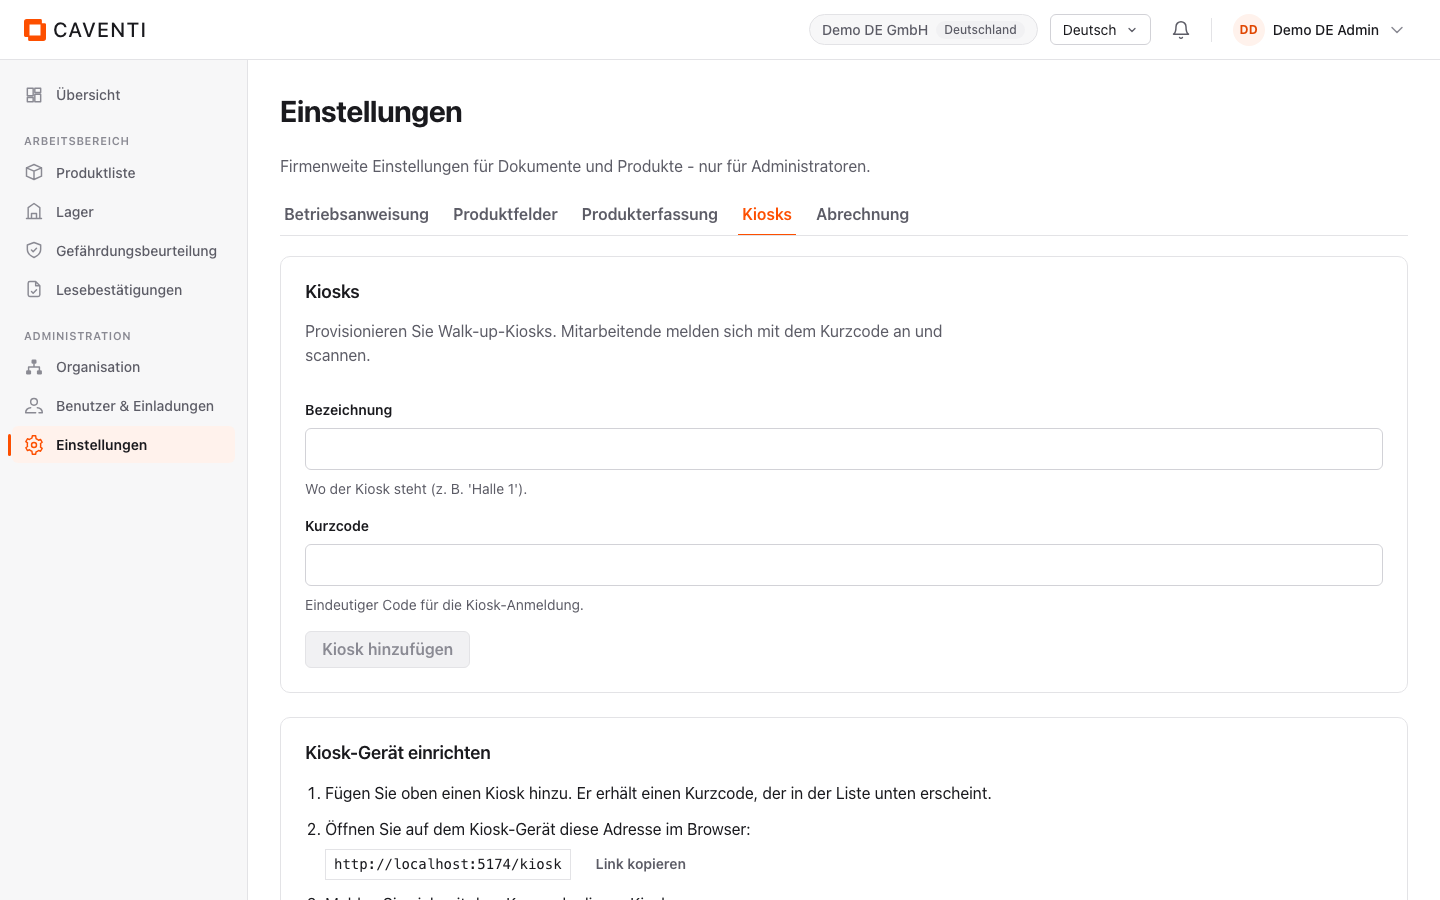
For workstations with no personal device there is the shared kiosk. Under Einstellungen, tab "Kiosks" (route /settings/kiosks), administrators create a kiosk: a "Bezeichnung" field (where the kiosk stands, for example "Halle 1") and a "Kurzcode" field (a unique code for kiosk sign-in), then "Kiosk hinzufügen".
Below, the "Kiosk-Gerät einrichten" guide walks through commissioning: the exact device URL (in the example http://localhost:5173/kiosk) with a "Link kopieren" button, plus notes on installing and locking down the device.
Run the kiosk (workers)
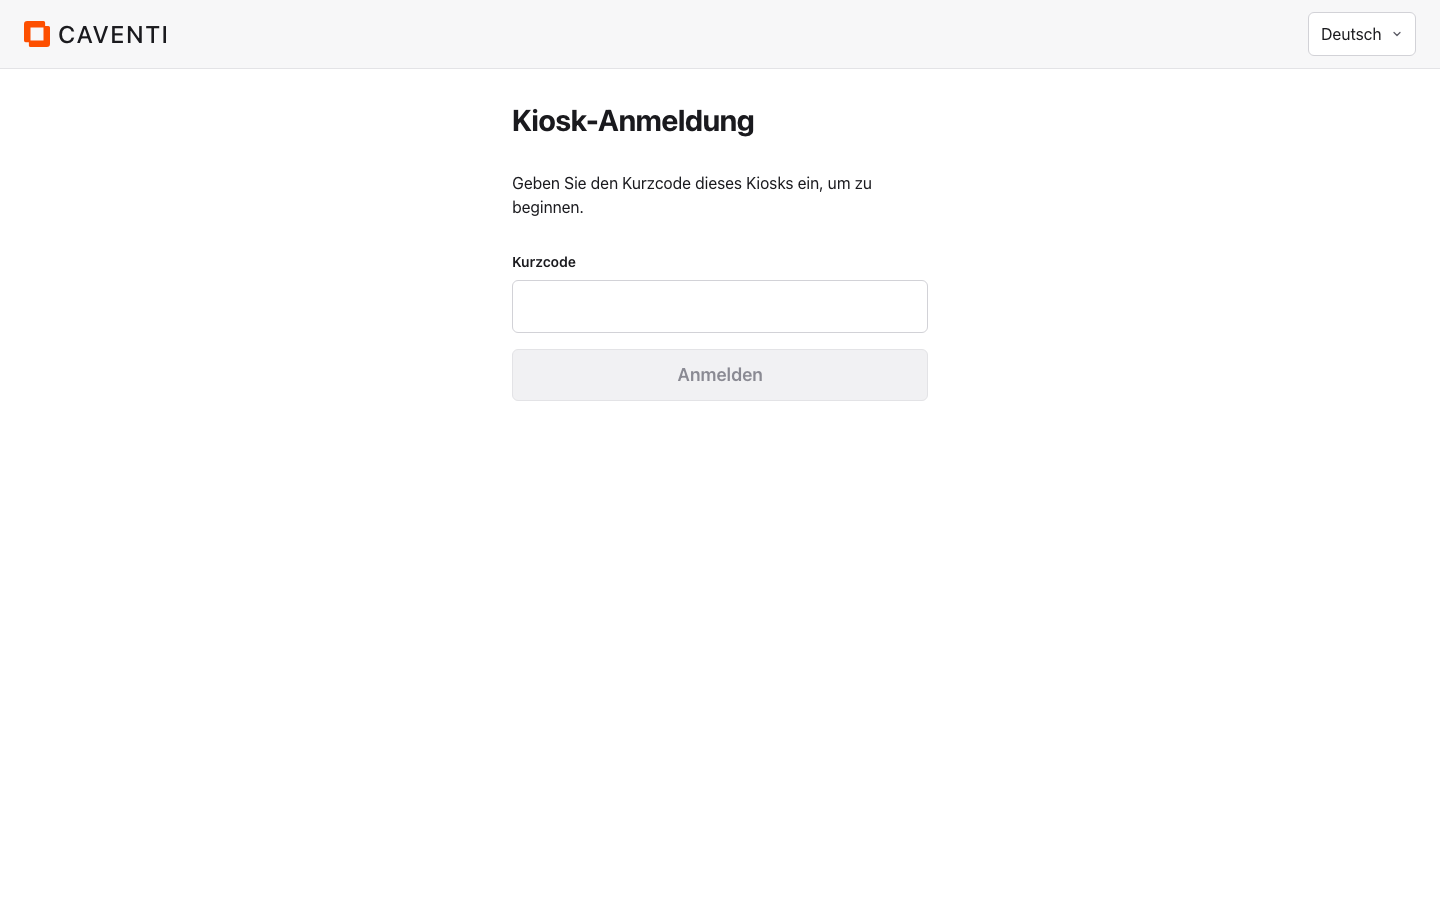
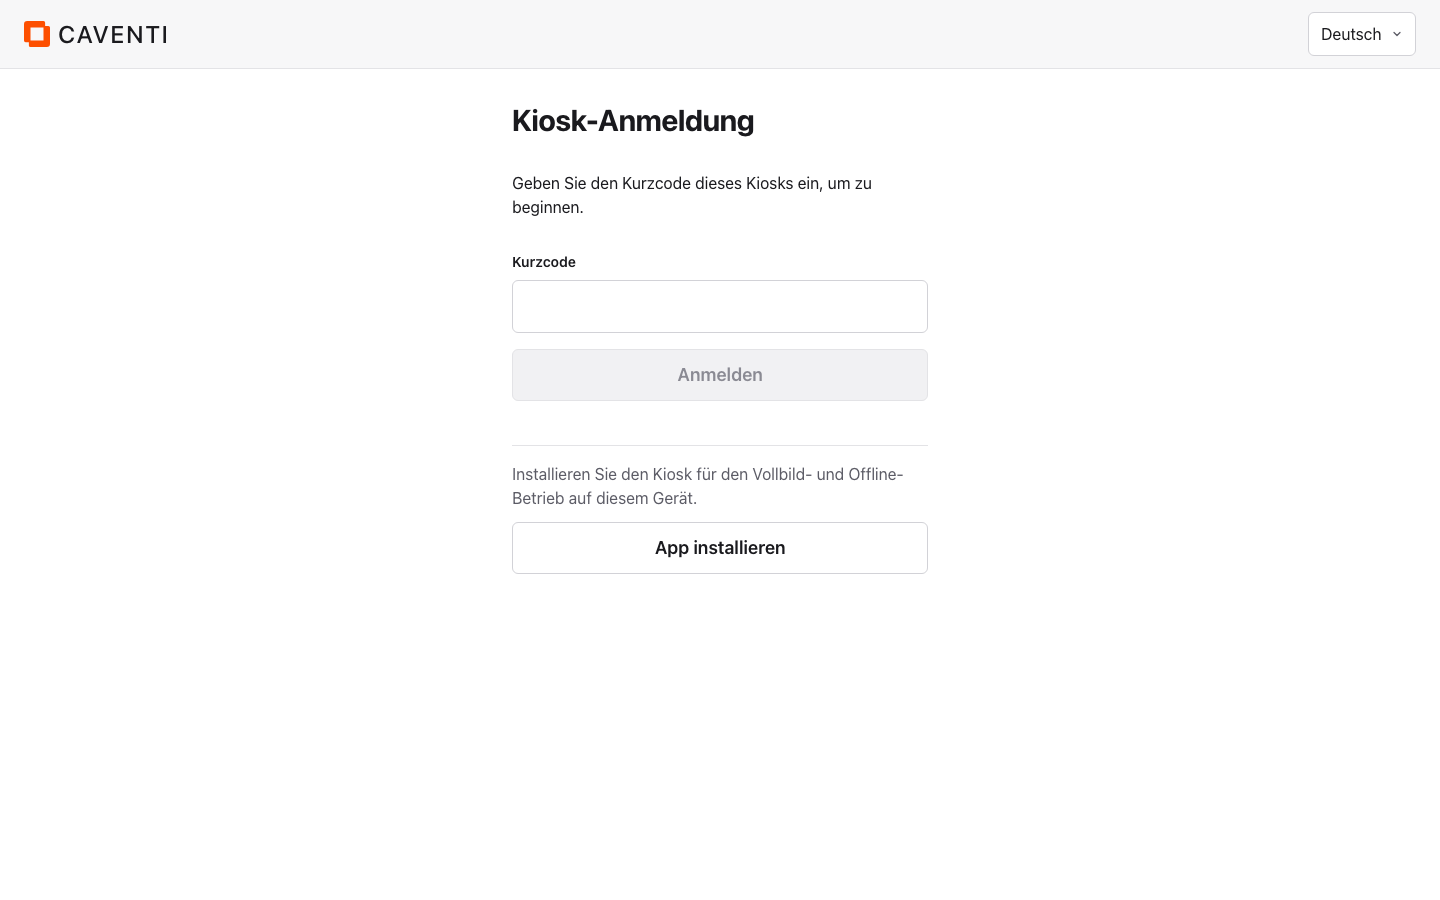
The device opens the public route /kiosk with the lean kiosk layout and no sidebar. The "Kiosk-Anmeldung" screen asks for the "Kurzcode"; the "Anmelden" button stays disabled until a code is entered. If the browser offers installation (PWA), an "App installieren" button appears; it is single-use and disappears after a tap. After sign-in the header shows the kiosk name (for example "Werkstatt Halle 1"), a language selector and "Abmelden".
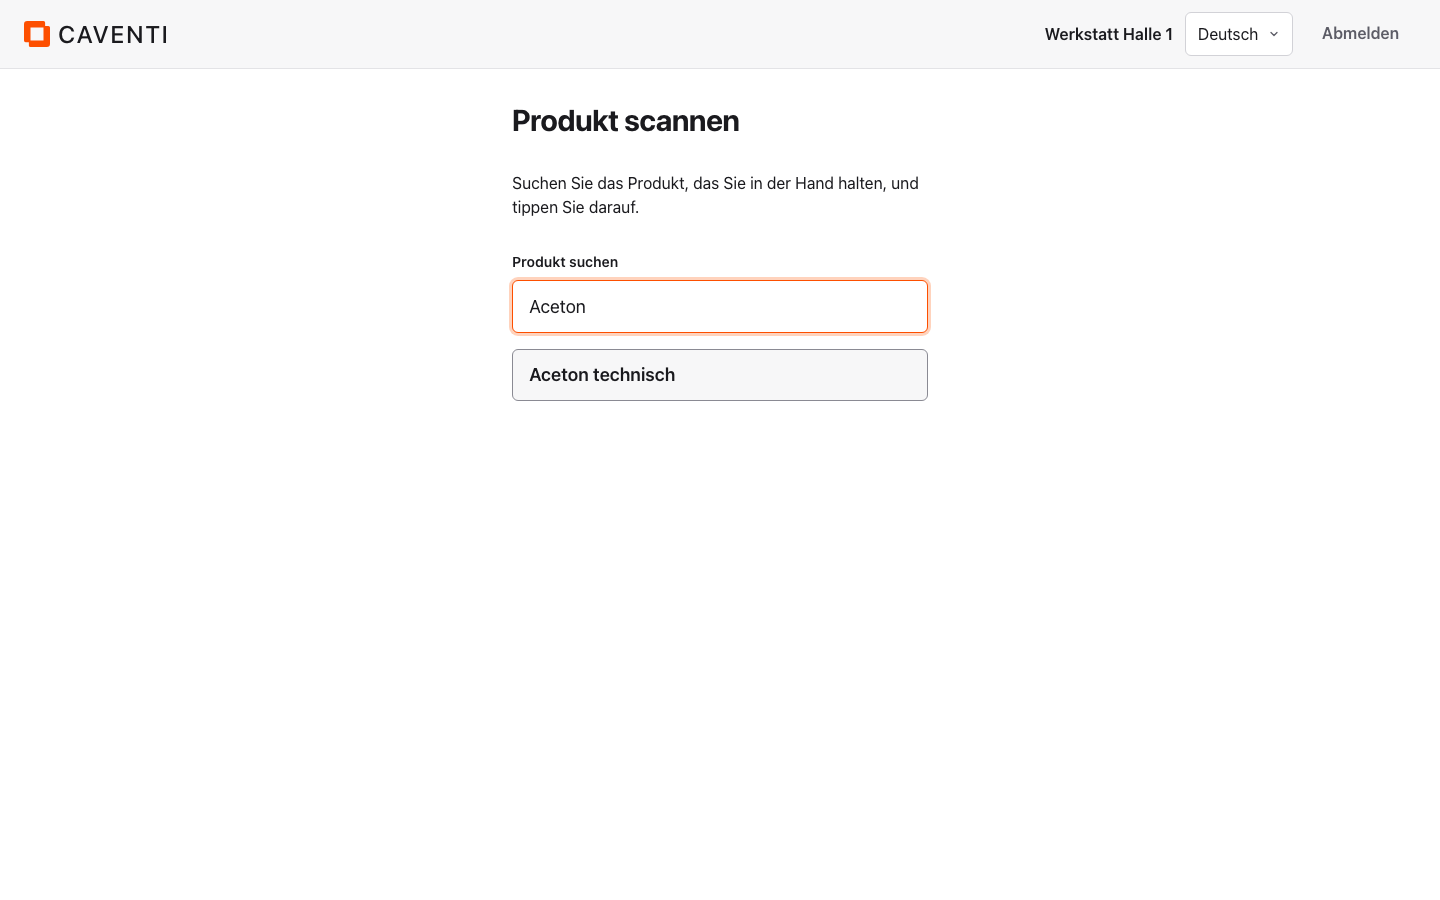
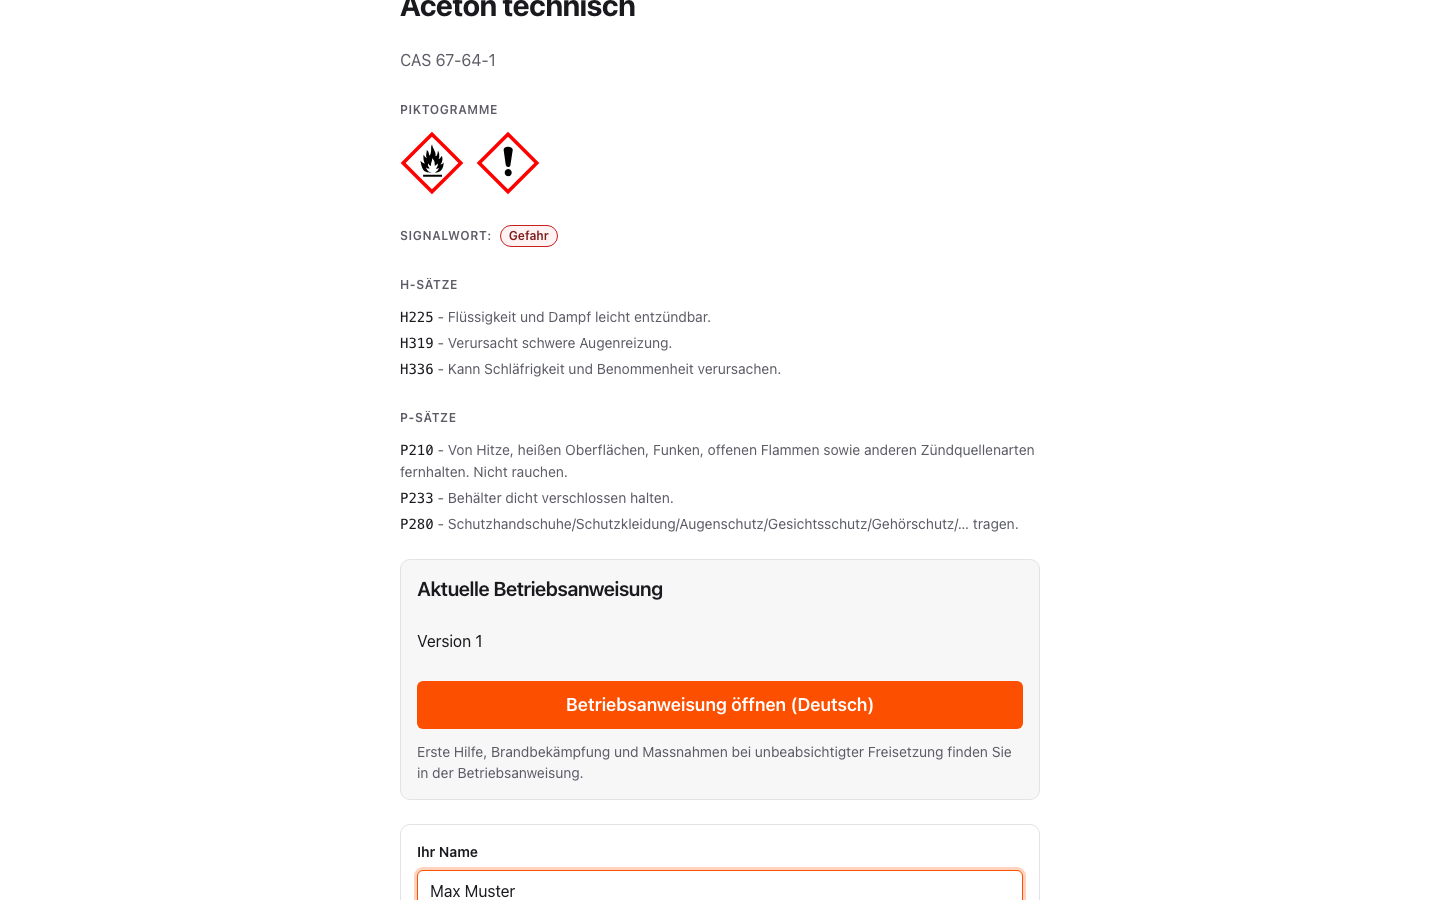
The "Produkt scannen" screen uses the camera first; with no camera a searchable product list appears with the note "Suchen Sie das Produkt, das Sie in der Hand halten, und tippen Sie darauf." On the product the kiosk shows the same unchanged hazard profile and the same "Aktuelle Betriebsanweisung" card as the worker scan.
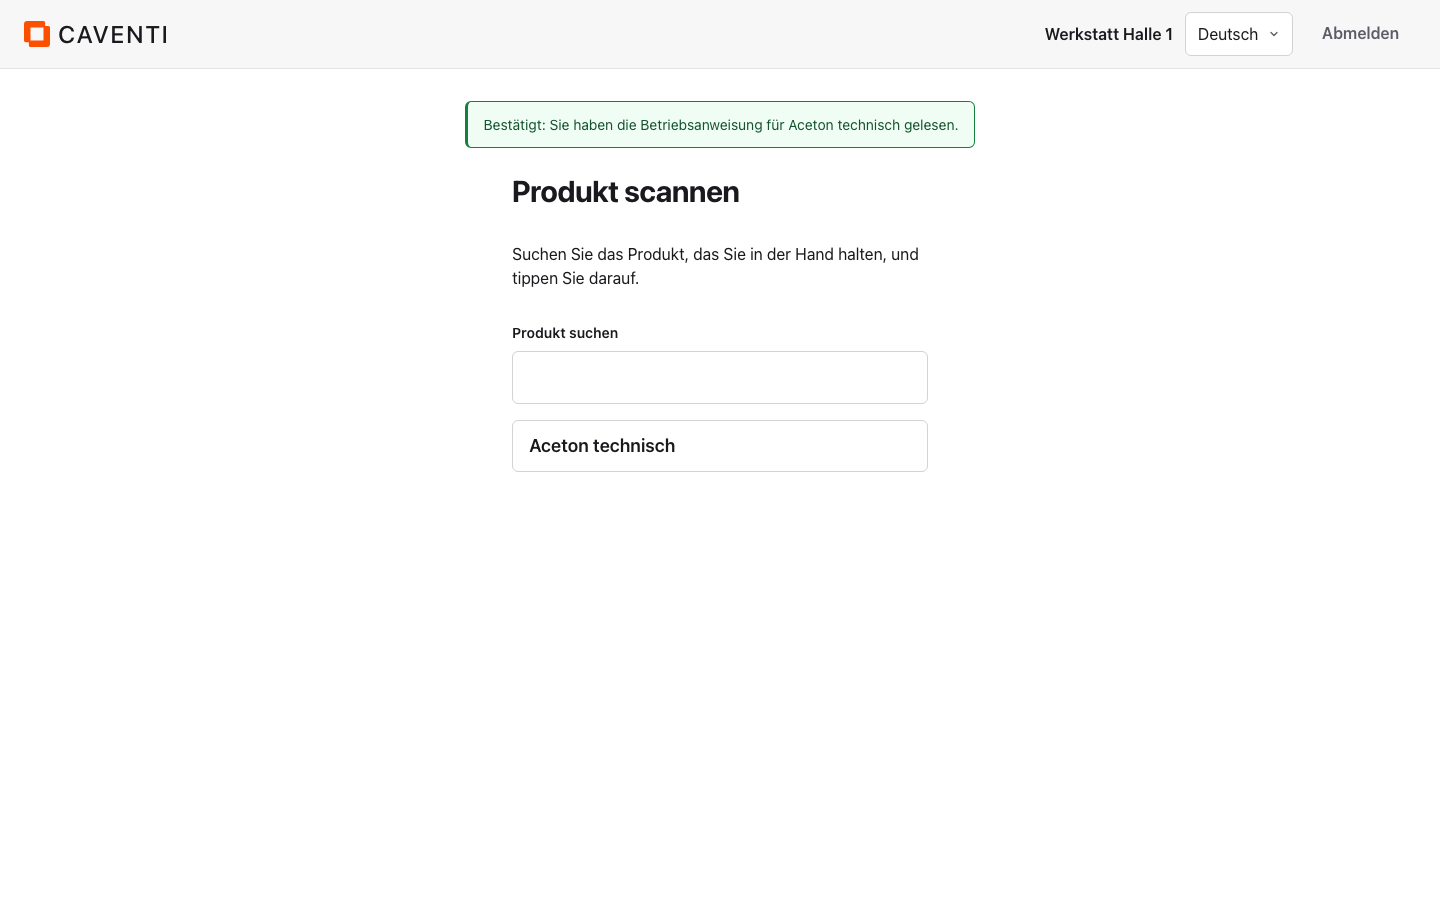
The difference is in the acknowledgement. Because no one is signed in, the kiosk requires a mandatory "Ihr Name" field (hint "Wird mit der Bestätigung erfasst.") with the privacy notice "Ihr Name wird mit Dokument, Version und Zeitstempel als Nachweis der Unterweisung gespeichert. Verantwortlich ist Ihr Arbeitgeber." The "Gelesen und verstanden" button stays disabled until the name is filled in. After confirming, the kiosk briefly shows the green banner "Bestätigt: Sie haben die Betriebsanweisung für Aceton technisch gelesen." and returns on its own to the "Produkt scannen" screen, with no "Weiteres Produkt scannen" button, unlike the worker scan.
As an installable web app (PWA) the kiosk caches its interface and queues acknowledgements when the connection drops; they are sent as soon as the device is back online.
FAQ
What is the difference between the two QR codes?
They are two separate switches, both on by default. "QR-Code (zur Scan-Seite)" in the label dialog prints the code on the product label; "QR-Code (Etikette)" in the BA studio controls the code on the printed operating instruction. Both lead to the product's scan page, but they sit on different documents.
Do you need to sign in at the kiosk to acknowledge?
No. At the kiosk no one is personally signed in, so workers enter their name in the mandatory "Ihr Name" field when confirming; the button stays disabled until then. Name, document, version and timestamp are stored as proof of instruction. In a personal scan inside the account, "Gelesen und verstanden" is enough because identity comes from the session.
Does the kiosk work without internet?
As an installed web app the kiosk caches its interface and queues acknowledgements when the connection is lost. As soon as the device is back online, the confirmations are sent.
Are the hazard statements on the scan page translated?
No. The signal word, H and P statements and the GHS classification appear on the label, the scan page and the kiosk verbatim in their official form and are never machine-translated.
Continue in the documentation
Try Caventi for free
Add your first product and see the derived hazards, the joint-storage check and the operating instruction in minutes.